 DoodleGrove
Halloween Classroom Door Ideas: 6 Door Themes Teachers Can Set Up Fast
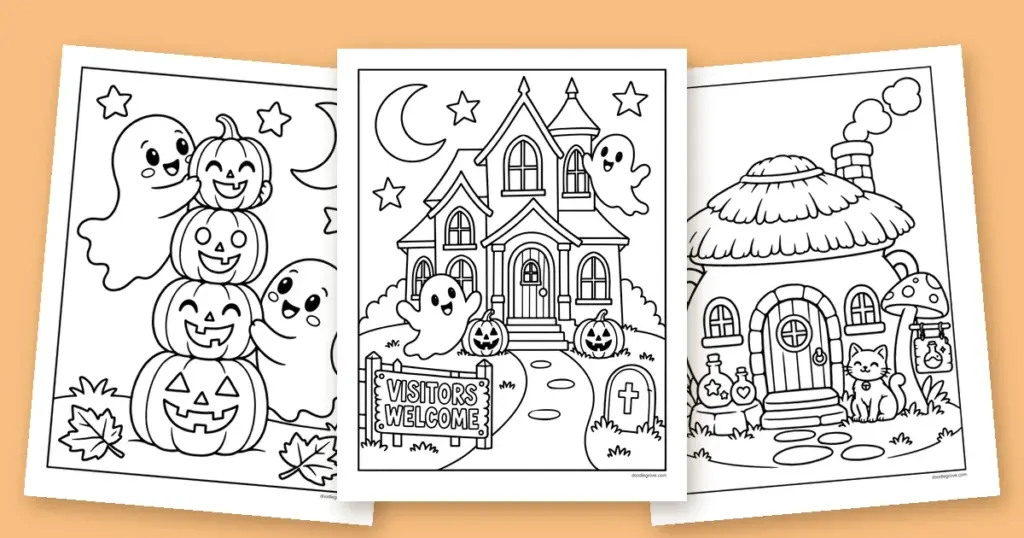
Decorating a classroom door for Halloween should not mean a late night with a glue gun. These six Halloween classroom door ideas each start with a stack of free coloring pages your students color themselves, so the display is their work, not yours, and it goes up in under an hour. Every idea below comes with the exact pages to print, the prep it needs and the grade band it suits best.
Every page linked here is free to print with no sign-up and no email. Each one comes as its own US Letter and A4 PDF, so nothing is squeezed or cut off, and you can print as many copies as your class needs. None of the pages are scary: the ghosts smile, the witches are friendly kids and animals, and the monsters wave.
Halloween classroom door ideas at a glance
Pick a theme by the time you have and the ages in your room. Once the door is up, the same pages double as early-finisher work and a calm-down station. If you want to turn the coloring into a graded task, the lessons live in our Halloween classroom activities guide, so this post sticks to the door itself.
| Door theme | Lead page | Teacher prep | Grade band |
|---|---|---|---|
| Friendly Ghost Gang | Nine Little Ghosts | About 20 minutes | Pre-K to 2 |
| Pumpkin Patch | Big Jack-o’-Lantern by the Fence | About 30 minutes | Pre-K to 3 |
| Candy Corn Welcome | Candy Corn Buddy | About 20 minutes | K to 5 |
| Watch Out for the Witch | Little Witch and Her Cauldron | About 40 minutes | 2 to 5 |
| Haunted House Front | Visitors Welcome Haunted House | About 45 minutes | 3 to 5 |
| Monster at the Door | Friendly Frankenstein | About 30 minutes | K to 3 |
Plan your door before you print
A classroom door is a tall, narrow canvas, usually about 36 inches wide and 80 inches tall. The trick is to treat the coloring pages as the stars and fill the gaps with cheap paper, not to cover every inch. Gather this before the first page is colored:
- Colored bulletin board paper or a plastic tablecloth for the background
- Painter’s tape or removable poster putty, not regular tape (see below)
- Scissors and a glue stick
- A black marker for outlining letters, plus crepe paper streamers for a border
- The colored pages themselves, trimmed to the edge of the drawing
To put it up without wrecking the door:
- Cover the door with background paper first, folding the edges around the sides so there are no gaps.
- Lay the whole design on the floor and arrange it before anything is stuck down.
- Attach each piece with a loop of painter’s tape or a pea of poster putty on the back.
- Add the border last so it hides the paper edges.
One rule worth checking first: most fire codes limit how much of a door and wall can be covered with paper, often to about 20 percent, and many schools ask that nothing covers the door’s window or blocks it from opening. Ask your office before you start, keep paper clear of the handle and any outlets, and never cover a door that is a marked fire exit. Painter’s tape and putty also come off clean in November, while regular tape and staples can pull paint or leave holes.
For sharp, even copies across 25 sheets, print at 100 percent on the right paper size and run one test page first. Our printing guide covers faint lines and the best paper for markers.
Easy doors for Pre-K to grade 2
These three come together fast because little hands only need to color one simple page each, and the layout forgives a crooked line or two.
1. Friendly Ghost Gang door
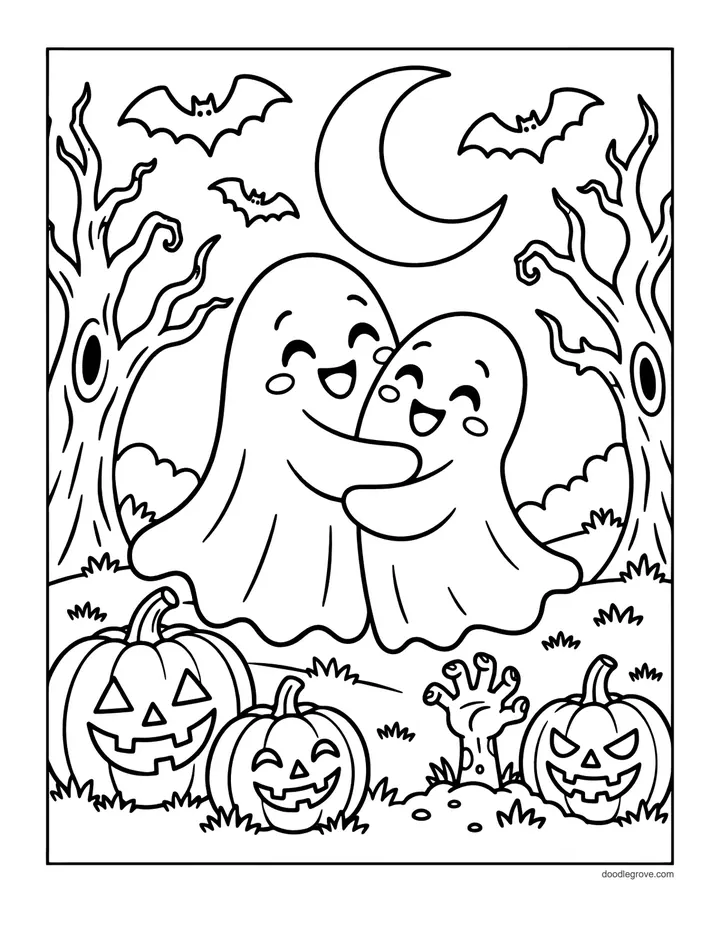
Turn the door into a wall of smiling ghosts floating up toward a paper moon. Give most of the class a single ghost to color from Nine Little Ghosts, which has nine ghosts in a grid, each holding something different, a pumpkin, a cupcake, a flower, a wand or a broom, so no two look alike once they are cut out. A few students can color the larger pieces: Ghost Friends Hugging for the center, Ghost with Balloons near the top, and Ghost with a Candy Bucket down by the handle.
- One copy of Nine Little Ghosts per three students, cut apart
- The three larger ghost pages for the centerpiece
- A paper moon and a scatter of star cut-outs
Cut the ghosts out so they float free of the page, then arrange them rising from the bottom corner up to the moon. Add cut-out letters spelling a friendly greeting across the top, something like Our Class Is Boo-tiful, outlined in black marker so they read from down the hall.
2. Pumpkin Patch door
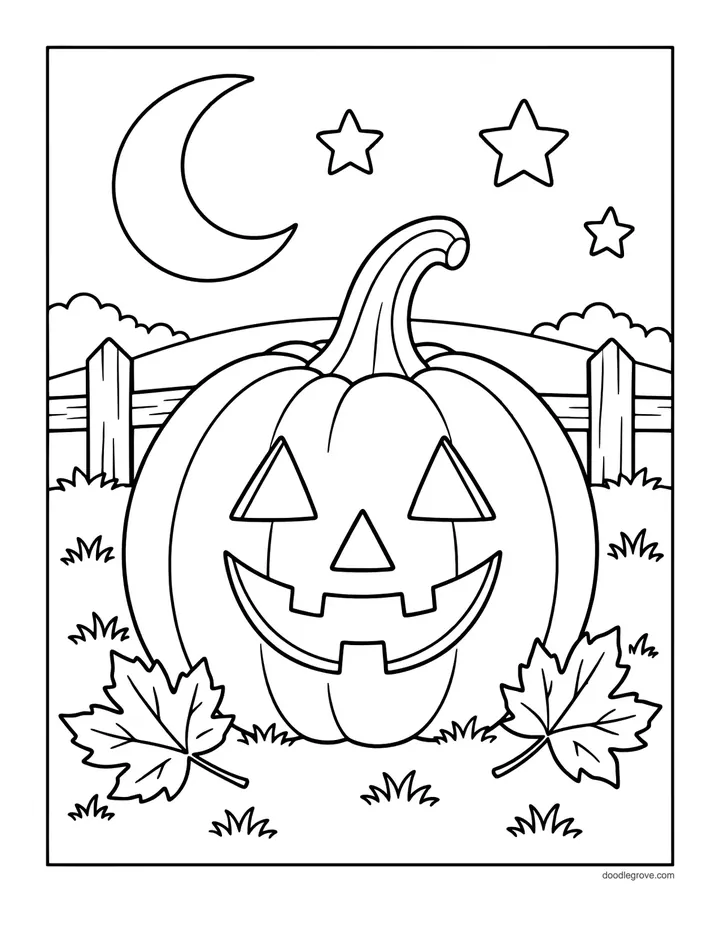
Build a pumpkin patch from the bottom of the door up. Put the biggest page, Big Jack-o’-Lantern by the Fence, in the center as the star of the patch, then surround it with smaller pumpkins each child colors. Smiling Pumpkin and Classic Jack-o’-Lantern are plain enough for the youngest, while Pumpkin Patch Faces gives six different faces for a small group to split up. Add a strip of brown paper along the bottom for a fence rail or a bale of hay.
For a name-tag twist, write one student’s name on each pumpkin before it goes up, so the patch becomes a roster families can find their child in at pickup.
3. Candy Corn Welcome door
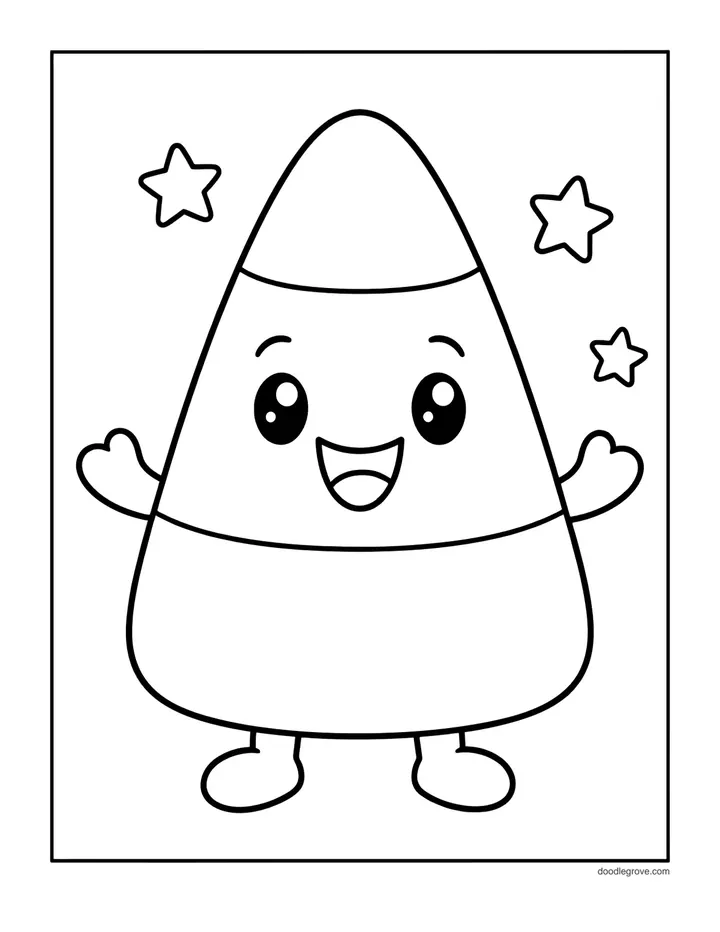
If your door faces a busy hallway, a bright candy theme reads well from a distance. Make Candy Corn Buddy, a smiling candy corn with waving arms, the greeter in the middle. Frame the door with the words from Trick or Treat Candy Page, which already has Trick or Treat lettering surrounded by lollipops, candy corn and wrapped sweets for students to color and cut out. Older helpers can tackle Candy Corn Castle, a castle with candy-corn roofs, for a taller centerpiece.
Statement doors for grades 3 to 5
Older students can handle detailed pages and a design with more layers. These take longer but make the kind of door that wins the hallway contest.
4. Watch Out for the Witch door
Center the door on Little Witch and Her Cauldron, a smiling girl witch stirring a cauldron with her cat, two ghosts, a bat and a jack-o’-lantern beside her. Build a small scene around her: Witch’s Cauldron Cottage as her home to one side, Little Witch with a Wand as a friend, and Pumpkin in a Witch Hat tucked into a corner. Give three or four students Four Potion Bottles to color, cut the bottles apart, and line them along a paper shelf.
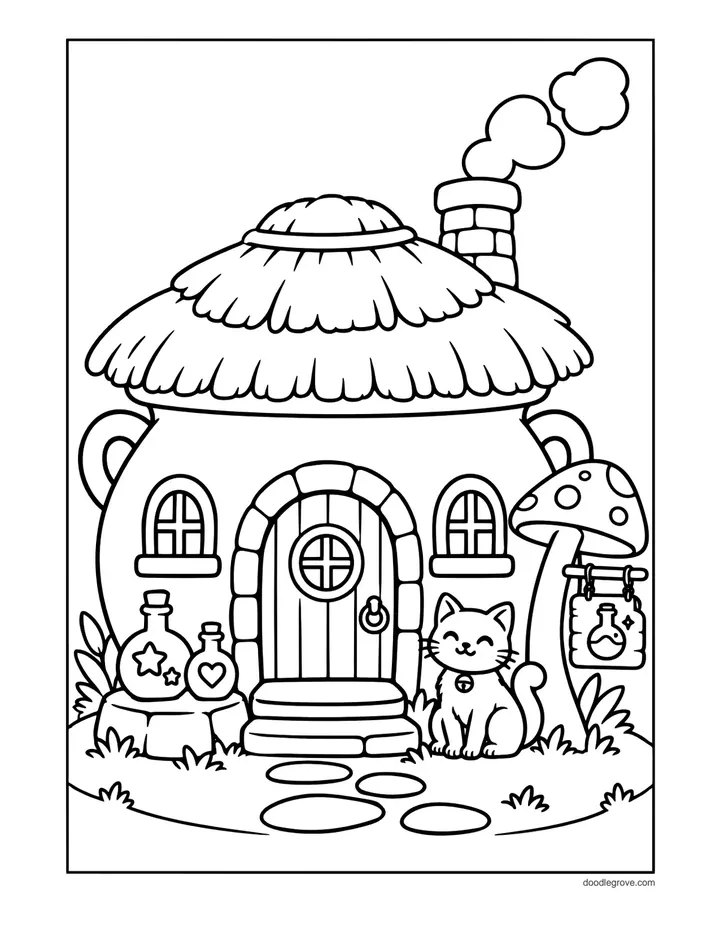
For the cauldron, cut green tissue-paper bubbles and write one student’s name on each, rising out of the pot, so the whole class is part of the brew.
5. Haunted House Front door
Make the door look like the front of a friendly haunted house. Any one of three detailed pages works as the whole door if you enlarge it on a poster printer, or you can tile printed copies. Visitors Welcome Haunted House has a welcome sign built in, Haunted Hollow House comes with its own Haunted Hollow sign, and Haunted House with Ghosts has ghosts drifting from the windows. Frame the real doorknob with a paper wreath so the drawing’s door lines up with your actual door.
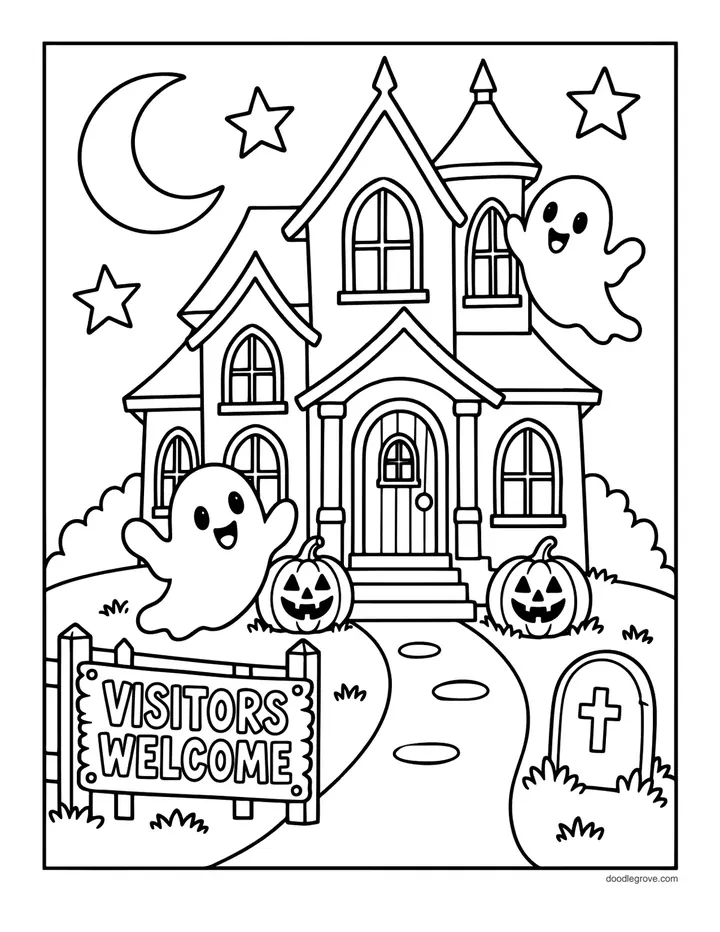
Students who finish early color the ghosts, bats and pumpkins to paste around the frame, so the scene spills off the house and onto the wall.
6. Monster at the Door
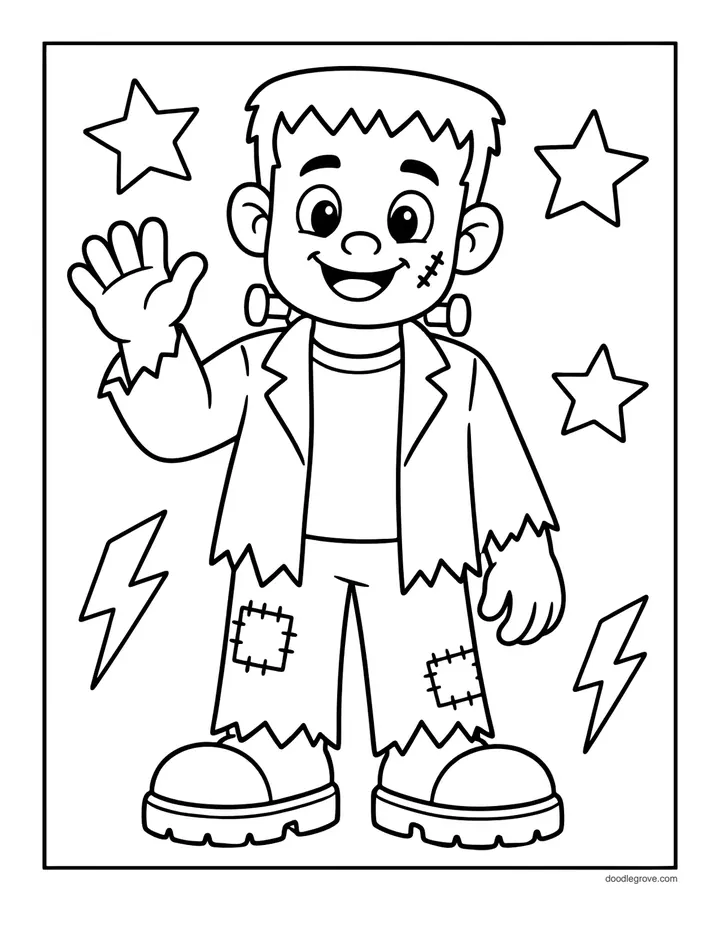
Friendly monsters make a welcoming door, even for the little visitors who pass an older class. Put Friendly Frankenstein, a waving Frankenstein kid, front and center, with Friendly Zombie Trick-or-Treater holding a candy bucket on one side and Vampire with a Happy Halloween Sign on the other, the vampire’s sign greeting everyone who walks in. Cut large paper teeth and tape them around the top and bottom edges of the door so the whole doorway becomes a goofy grinning mouth the class walks through.
Turn the door into a lesson, then take it down clean
A door display is a free writing and art prompt if you add one small task to the coloring. Have students write a label, a name or a one-line caption for the character they colored before it goes up; grades 3 to 5 can write a two-sentence story about the scene on a flap that lifts. For ready-made subject tie-ins, counting rules, directed-coloring scripts and vocabulary cards that use these same pages, see the Halloween classroom activities guide, and the Halloween party games post if the door is going up for a class party.
When November arrives, take the door down in reverse: peel the putty or painter’s tape, which comes away without marks, and save the colored pages. The best ones make a second display inside, and the pages can be colored online instead of reprinted next year.
FAQ
How do I stick coloring pages to a classroom door without peeling the paint?
Use loops of painter’s tape or small beads of removable poster putty on the back of each page, not clear tape or staples. Both hold the paper and a light paper border fine, and they peel off clean in November. On a metal door, small magnets work even better.
Are paper decorations on a classroom door a fire safety problem?
They can be if you cover too much. Many fire codes limit paper to about 20 percent of a door and wall, and schools usually ask that you keep the door’s window clear and never decorate a marked fire exit. Check with your office first, and keep paper away from the handle and any outlets.
How long does one of these doors take to put up?
The coloring is spread across the class over a day or two, so your own hands-on time is roughly 20 to 45 minutes depending on the theme. The simple ghost and pumpkin doors go up fastest; the haunted house and witch scenes take longest because of the layers.
Can the whole class help build the door?
Yes, and it works best that way. Give every student one page to color and cut, let a few confident colorers handle the centerpiece, and save arranging and taping for a small group or for you after school. Writing names on the pumpkins, bubbles or ghosts makes sure every child can point to their own part.
What if our school runs a door decorating contest with a set theme?
These pages mix and match, so most themes are covered. A kindness theme suits the hugging ghosts, a fall theme leans on the pumpkins without anything spooky, and a friendly-character theme fits the waving monsters. Swap any page for another in the same collection to fit the brief.
More Halloween coloring pages
Every door above mixes pages from these four collections, so swap freely to fit your theme and your grade:
- Ghost Coloring Pages: smiling ghosts, not a scary one in the set (17 pages)
- Pumpkin Coloring Pages: jack-o’-lanterns and happy pumpkins from plain to detailed (20 pages)
- Witch Coloring Pages: friendly witches, cauldrons, cottages and potions (20 pages)
- Halloween Coloring Pages: candy, haunted houses and waving monsters (20 pages)
Need the matching lesson plans? The Halloween classroom activities guide turns any of these pages into math, writing and listening tasks.

Hung designs T-shirt artwork for a living and prints coloring pages for his own kids at home. Every page on DoodleGrove is prepared for print the same way he prepares work for his clients.