 DoodleGrove
Leaf Crafts for Kids: 10 Ideas With Printable Leaves
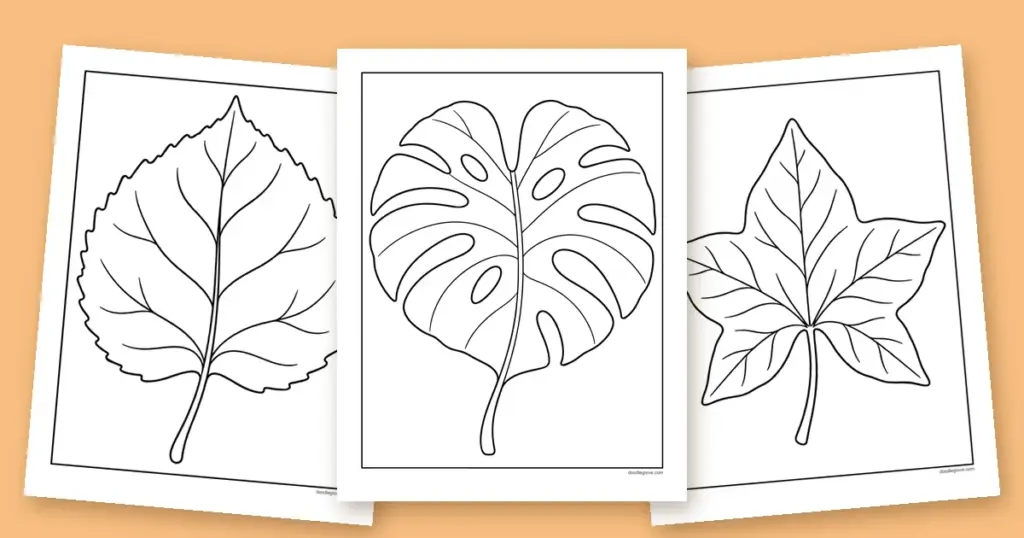
Fall leaves are everywhere right now, and they are the perfect start for a craft table. This guide gathers ten leaf crafts for kids that each begin with a free printable leaf you color, cut and build into something real: a garland for the window, a suncatcher that glows, a crown to wear, a bookmark to keep. Every craft has a short you-need list and clear steps, so you can set one up in a few minutes at home or in the classroom. Best of all, each one starts with coloring, so even the youngest crafter has a job from the very first step.
Every coloring page here is free to print with no sign-up, in both US Letter and A4. For the folding and cutting crafts, print on slightly heavier paper and read our printing guide first. Curious about the season itself? We cover why leaves change color in a separate post.
What you need for these leaf crafts
Most of these crafts share the same short list of supplies. Gather these once and you can make almost any craft on the page:
- Printed leaf coloring pages (plain printer paper works; cardstock lasts longer)
- Crayons, colored pencils or markers
- Child-safe scissors
- A glue stick and clear tape
- Yarn or string, a hole punch and a few craft sticks
- For the suncatcher: tissue paper and clear contact paper, or a plastic sleeve
One rule makes everything smoother: color first, then cut. A whole flat page is far easier to color than a cut-out shape, and younger kids can color while an adult handles the trickier cutting.
Hang-it-up leaf crafts
These three crafts turn flat pages into decorations that move. They are the fastest way to fill a window or a doorway with fall color, and they use up a stack of single-leaf pages.
1. Fall leaf garland
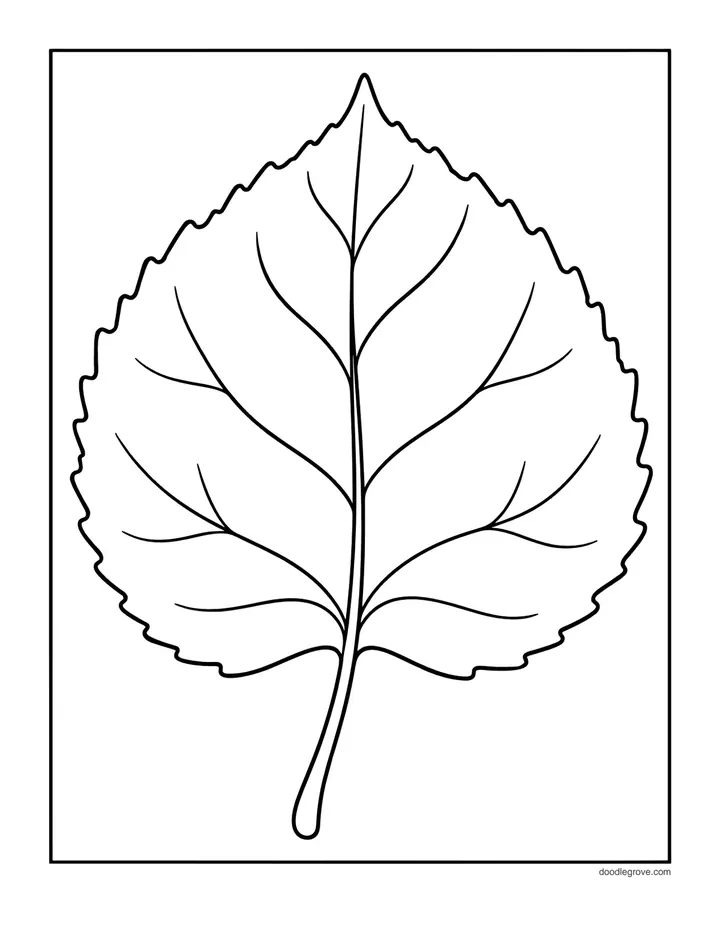
A garland is the easiest place to start. Print several single-leaf pages, like the Big Round Leaf, the Ivy Leaf and the Oak Leaves and Acorns, so your string has different shapes running along it.
- 3 to 6 printed leaf pages
- Yarn or string, a hole punch, tape
- Color each leaf in its own fall colors, then cut around the outline.
- Punch a hole near the top of each leaf, or one at each side.
- Thread the yarn through the holes, spacing the leaves evenly.
- Tape the ends above a window or along a shelf.
2. Autumn leaf mobile
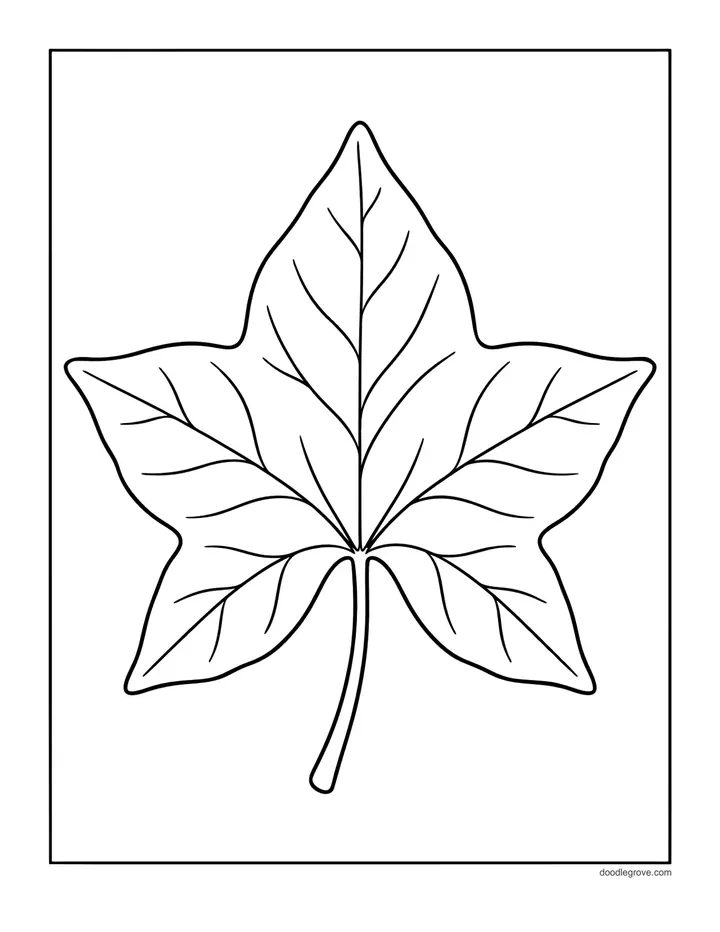
A mobile hangs the same leaves at different heights so they spin in the air. A single clear shape like the five-lobed Ivy Leaf works best, because it keeps its outline as it turns.
- A stick, a wooden ring or a wire hanger
- 4 to 6 printed leaves, yarn, tape
- Color and cut out your leaves.
- Tape a length of yarn to the back of each leaf, every piece a different length.
- Tie or tape the top of each yarn to the stick, spreading the leaves apart.
- Hang the stick from a doorway or a ceiling hook where it can turn freely.
3. Stained glass leaf suncatcher
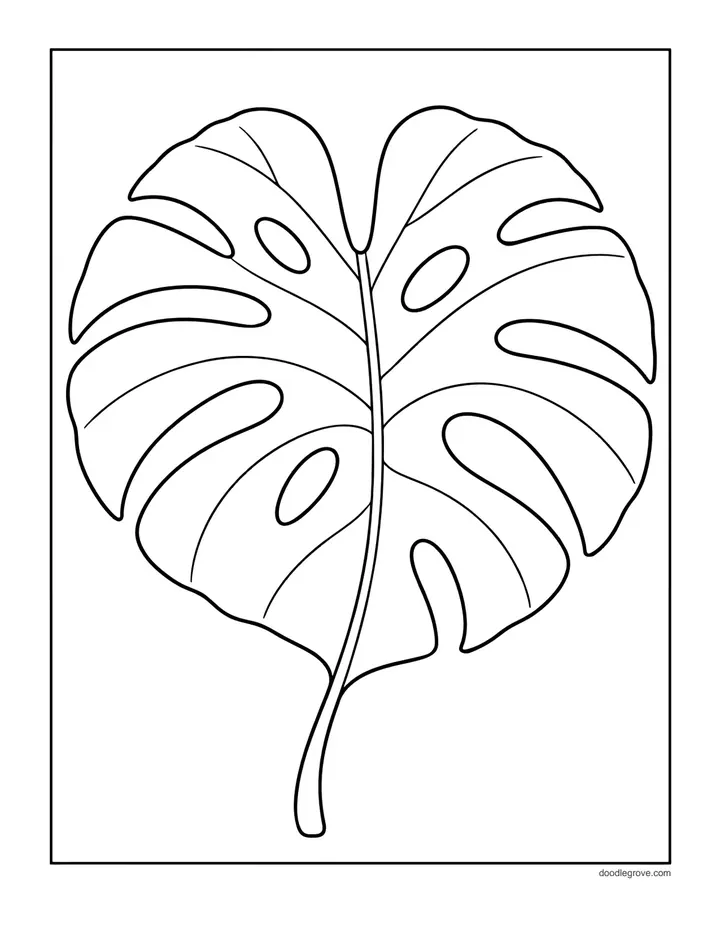
This craft lets light shine through the leaf like a little window. A leaf with open spaces, like the split Monstera Leaf, is ideal, because the gaps become the glowing parts.
- 1 printed leaf with large open areas
- Tissue paper in red, orange and yellow
- Clear contact paper or a clear plastic sleeve, scissors
- Color only the outline and veins of the leaf, leaving the open areas blank.
- Cut out the whole leaf, then carefully cut away the inside spaces.
- Press the leaf onto a sheet of clear contact paper, sticky side up.
- Fill the open spaces with small pieces of tissue paper.
- Press a second sheet of contact paper on top and tape it to a sunny window.
Wearable and keepsake leaf crafts
These crafts become something a child keeps or wears: a crown for pretend play, a bookmark for story time, and a lacing card for quiet practice.
4. Leaf crown
A leaf crown turns a walk in the park into dress-up. The Oak Leaves and Acorns page gives you sturdy, chunky shapes that are easy to cut and fix to a paper band.
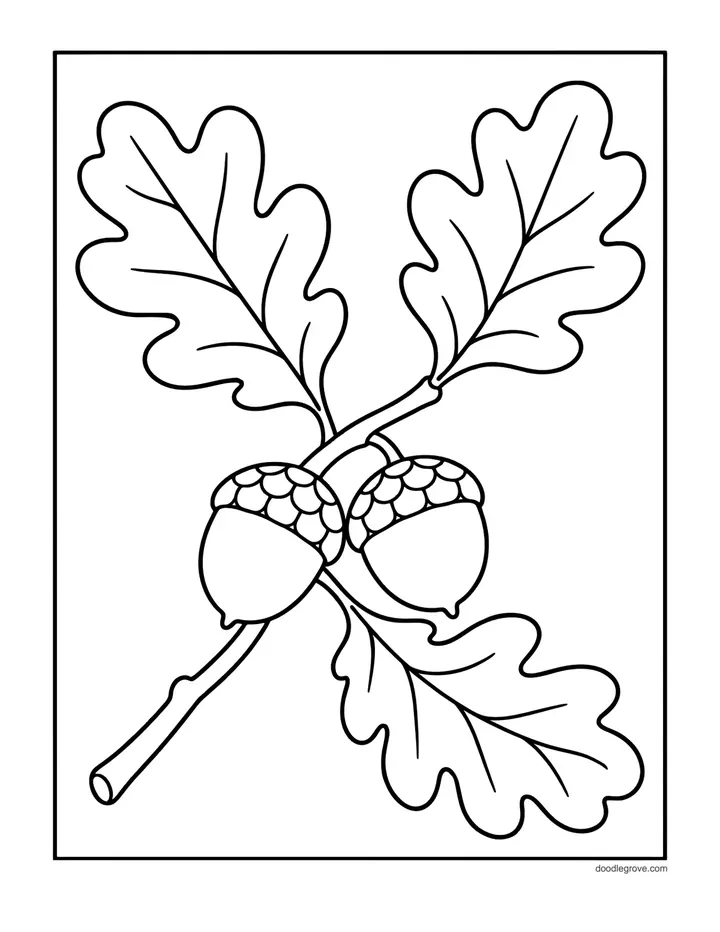
- 2 to 3 printed leaf pages
- A strip of paper long enough to wrap a head, plus tape or a stapler
- Color and cut out six to eight leaves.
- Cut a paper strip about two inches wide and fit it around the child’s head.
- Tape or glue the leaves along the top edge of the strip.
- Close the band into a ring and adjust it to size.
5. Leaf corner bookmarks
A corner bookmark slips over the top corner of a page and marks your spot. Color a cheerful leaf page, like You’re Unbe-leaf-able, then fold a paper square into a little pocket to glue it onto.
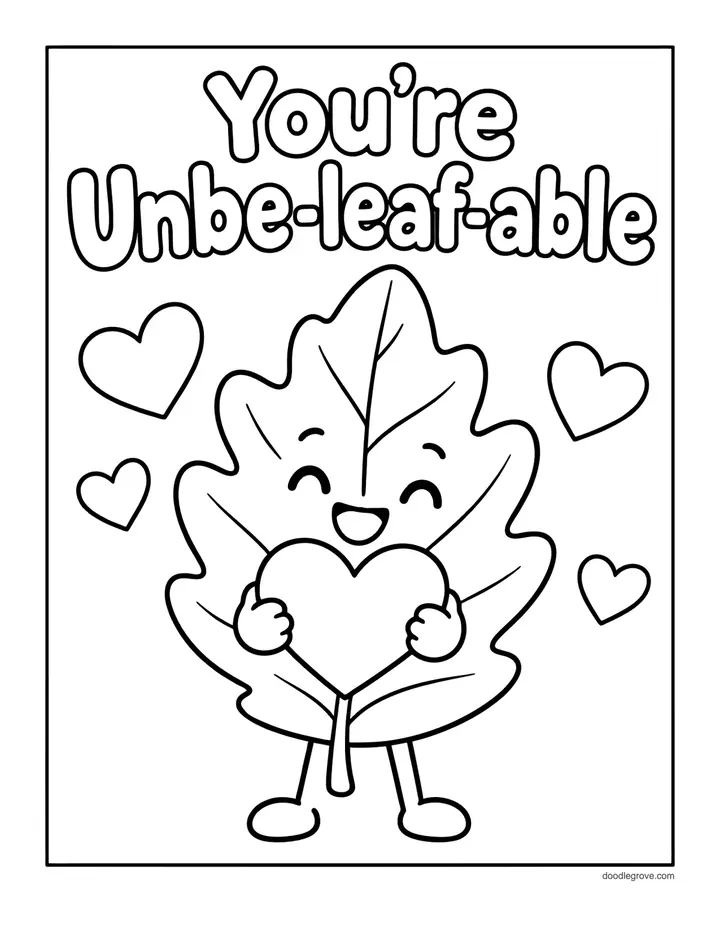
- A square of paper (trim a letter sheet down to a square)
- Your colored leaf, a glue stick, scissors
- Fold the square in half to make a triangle.
- Fold the two bottom corners up to the top point, then unfold them.
- Fold both corners back in and tuck them into the open pocket at the front.
- Cut out your colored leaf and glue it to the front of the pocket.
- Slip the pocket over the corner of a page to mark your place.
6. Leaf lacing cards
Lacing cards build the finger strength kids need for writing, and a single bold leaf is the perfect shape. Pick a wide, simple outline such as the Big Round Leaf or the Ivy Leaf so the holes have room around the edge.
- 1 printed leaf page, glued to cardboard or thick card
- A hole punch, a shoelace or a length of yarn
- Color the leaf, then glue the page onto cardboard so it stays stiff.
- Cut around the leaf and punch holes about an inch apart around the edge.
- Wrap tape around one end of the yarn to make a firm tip, like a shoelace.
- Let your child sew the yarn in and out through the holes.
Gratitude and table leaf crafts
These two crafts give your leaves a job at the table, which makes them a good fit for Thanksgiving or any family meal.
7. Thankful leaves banner
Writing one thing you are thankful for on each leaf turns a quick craft into a keepsake. Word pages like the Fall Word Page give you extra leaves to fill and a ready title for the banner.
- Several printed leaves
- A marker, yarn, and tape or clothespins
- Color and cut out one leaf for each family member, or several each.
- On each leaf, write or draw one thing you are thankful for.
- Clip or tape the leaves along a length of yarn.
- Hang the banner where everyone can read it during the meal.
8. Fall leaf place cards
Place cards give every guest a spot and a small gift to take home. A single leaf with room for a name works best, like the Hello Fall Maple Leaf.
- 1 printed leaf per guest
- A marker, scissors, and a small folded card of paper
- Color and cut out one leaf for each guest.
- Write a name across the middle of each leaf.
- Glue the leaf to a small folded paper tent so it stands up.
- Set one at each place at the table.
Scarecrow and owl crafts to pair with your leaves
Leaves are not the only pages that fit a fall craft table. A scarecrow and an owl add two more characters for your crafts to gather around.
9. Scarecrow stick puppet
Turn a full-body scarecrow into a puppet for a little fall show. The Classic Scarecrow with a Crow stands tall in a plaid shirt and patched overalls, so it reads well from across the room.
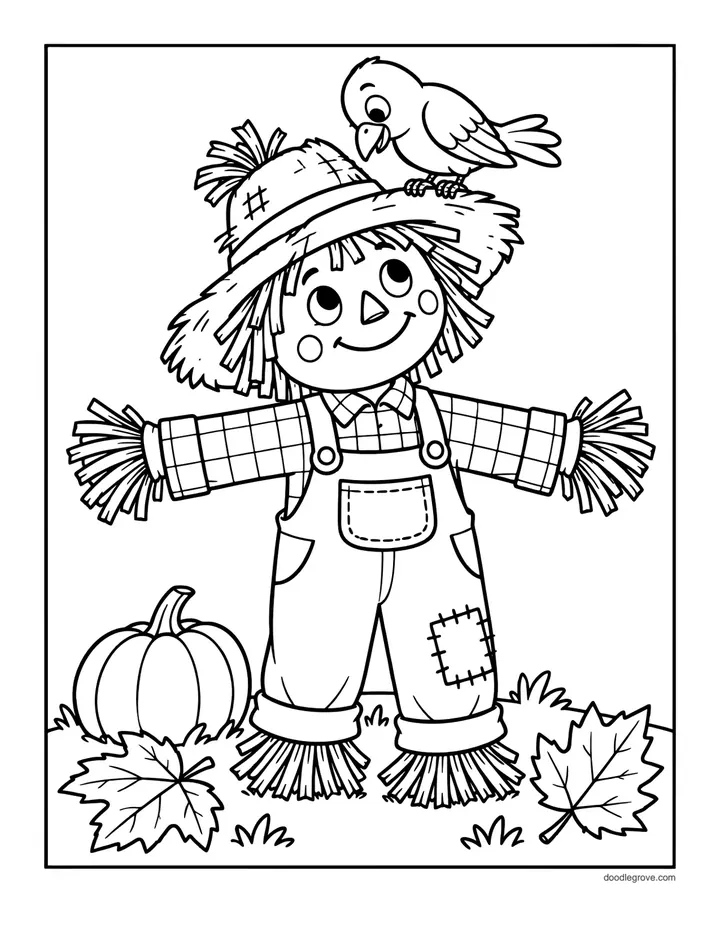
- 1 printed scarecrow page, glued to card
- A craft stick, tape, scissors
- Color the scarecrow and glue the page to thin card.
- Cut around the outline.
- Tape a craft stick to the back, half on the puppet and half below as a handle.
- Hold the stick and act out a story among your leaf garland and mobile.
10. Owl mask
A bold, round owl face makes a mask a young child can finish. The Simple Owl has large eyes that are easy to turn into eye holes.
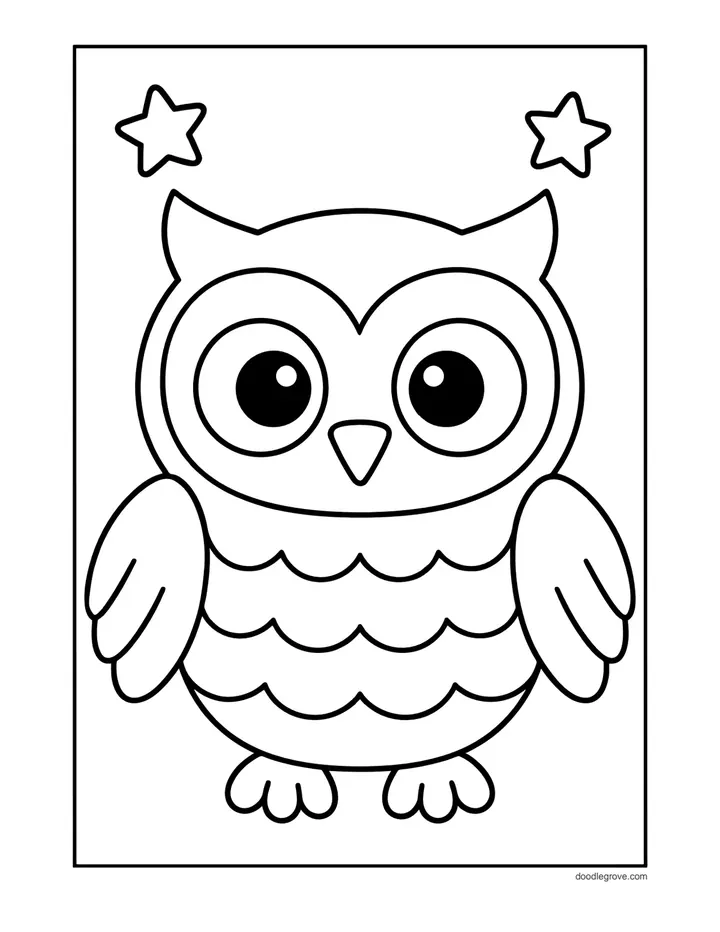
- 1 printed owl page, glued to card
- A craft stick or a length of elastic, scissors
- Color the owl and glue the page to card.
- Cut out the owl face, then ask an adult to cut the two eye holes.
- Tape a craft stick to one side to hold it up, or staple elastic to the back.
- Hold it up and give your best hoot.
Tips for leaf crafts that last
A few small choices make these crafts hold up and come together faster:
- Print on cardstock for anything that will be worn, hung or reused.
- Color before you cut; a flat, whole page is much easier to work on.
- Set out one pair of scissors per two children so cutting does not back up.
- For a classroom, pick two or three crafts and run them as stations.
Teachers planning a whole morning can pair these with our low-prep fall activities for kindergarten, which add literacy and math centers to the mix.
Leaf crafts FAQ
Do I need real leaves, or do the printed pages work on their own?
The printed pages are all you need. Every craft here is built on a coloring page, so you can make them indoors on a rainy day. If you do have real leaves, you can glue a few alongside the printed ones for extra texture.
Which of these leaf crafts make the best classroom center?
The garland, the lacing cards and the place cards run well as stations, because the steps repeat and the supplies stay the same. Set each one on its own table and let small groups rotate through.
How do I make the paper leaves last so we can reuse them?
Print on cardstock, or glue the colored page to cardboard before you cut. For crafts that will be handled a lot, cover the leaf with clear contact paper, which acts like a quick laminate.
What is the best way to hang the garland and mobile without marking the walls?
Use low-tack washi tape or a couple of removable hooks. Both hold light paper well and come off a wall or window without leaving a mark.
More fall coloring pages
- Fall Leaves Coloring Pages: single leaves, leaf charts and friendly leaf characters for every craft here (30 pages).
- Fall Coloring Pages: pumpkins, acorns, foxes and hello-fall lettering to round out the season (30 pages).
- Scarecrow Coloring Pages: classic, pumpkin-head and garden scarecrows for puppets and scenes (34 pages).
- Owl Coloring Pages: simple owls, barn owls and stained glass owls for masks and more (30 pages).

Hung designs T-shirt artwork for a living and prints coloring pages for his own kids at home. Every page on DoodleGrove is prepared for print the same way he prepares work for his clients.