 DoodleGrove
Fall Color Palette for Colored Pencils: How to Color Autumn Leaves That Look Real
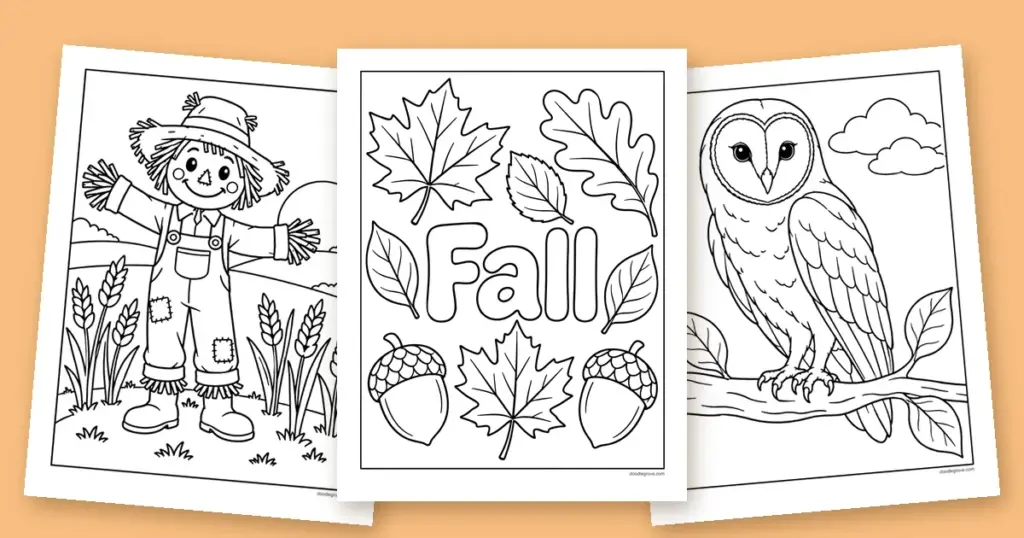
Autumn is the one season where the colors do the hard work for you, but a blank coloring page can still turn flat or muddy if you reach for the first orange in the tin. This guide gives you a fall color palette colored pencils can turn into leaves that look like they just came off the tree, along with a simple layering method, a light and shadow trick, and free autumn pages to practice on. It is written for adult colorists and confident teens who want more than a quick fill.
Every coloring page linked here is free to print for personal, classroom and family use, with no sign-up. Each one comes in US Letter and A4, so print whichever size your paper tray holds.
Build an eight-color autumn palette
Real autumn foliage is never one orange and one red. It is a run of warm shades sitting next to each other, from the last of the summer green through gold and rust to a deep wine red. Build that run before you start and you can mix almost any leaf on the page from it. Here is an eight-pencil palette that covers nearly every tree.
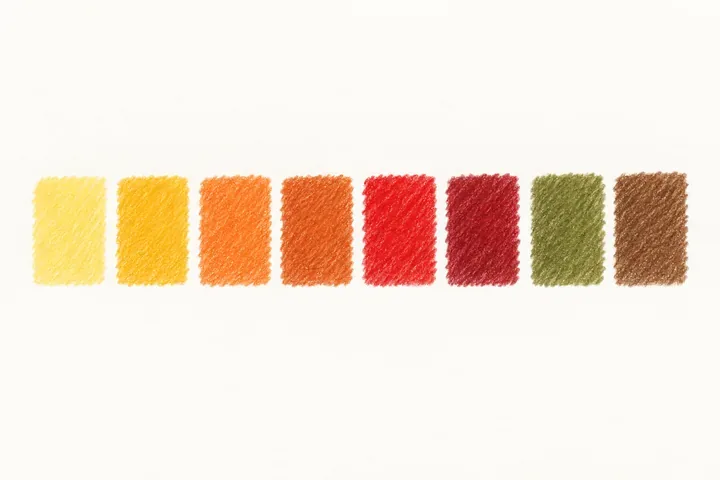
- Pale yellow and golden yellow: the base of almost every fall leaf.
- Warm orange and burnt orange: the heart of maples and sweetgums.
- Scarlet red and deep maroon: the fiery edges and the shadows.
- Olive green: the summer green that has not quite left.
- Warm brown: veins, stems and most oak leaves.
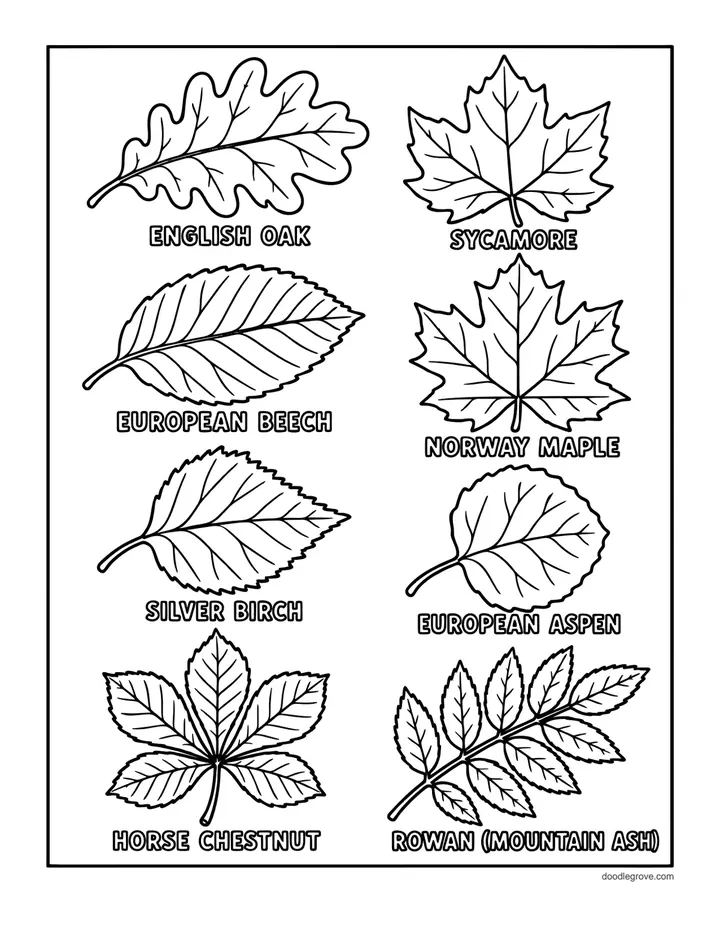
You do not need an expensive set. Any eight pencils close to these shades will do, and two or three good ones beat a tin of forty you never reach for. Lay a small swatch of each at the edge of your page so you can test a color before it lands on a leaf. The Leaves of European Trees page is a handy place to start, with eight named leaf shapes on one sheet.
Paper and blending: what makes pencil work look smooth
Colored pencils reward slow, light pressure, and what sits under the pencil matters as much as the pencil itself. Two choices do most of the work.
- Paper: print on the heaviest stock your printer takes, around 90 gsm or more, so the layers do not dent, tear or bleed through. Our printing guide covers paper weights and the right printer settings.
- A blending tool: a colorless blender pencil, the palest pencil in your palette, or even a clean cotton bud will smooth two colors into one. You do not need solvents.
Student-grade wax pencils are fine to begin with. Sharpen often, because a fine point lets you tuck color in beside a vein without flooding the whole area, and a dull point is the fastest way to a flat, waxy page.
The three-layer method
Realistic color on a pencil page is built in layers, never laid down in one heavy pass. Work light to dark and save your deepest red for last. The three leaves below are the same shape at three stages.
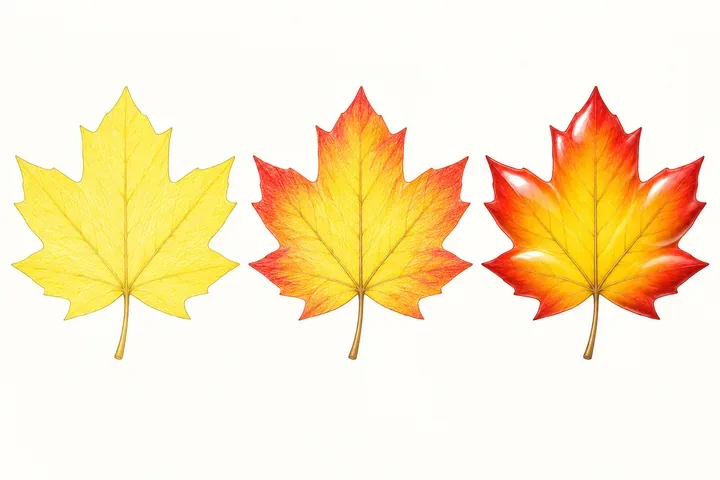
- Base layer. Cover the whole leaf with your palest yellow, pressing lightly and keeping your strokes in one direction. This warm under-layer glows through everything you add on top.
- Mid tones. Bring in golden yellow, then orange, working from the edges inward. Let each color fade into the one beneath it instead of stopping in a hard line.
- Burnish. Now press harder with scarlet and a touch of maroon on the very edges and in the shadows, then pass the pale yellow back over the whole leaf to polish it. That last pass is what gives a leaf its smooth, almost glossy finish.
The same layering works on any subject, not just leaves. Our Halloween color palette guide walks through pumpkins and ghosts with the same light-to-dark approach.
Color an autumn leaf step by step
Practice on one large leaf before you tackle a busy scene. A single big maple, like the one the sloth is holding below, gives you room to feel the three layers without fussing over small shapes.
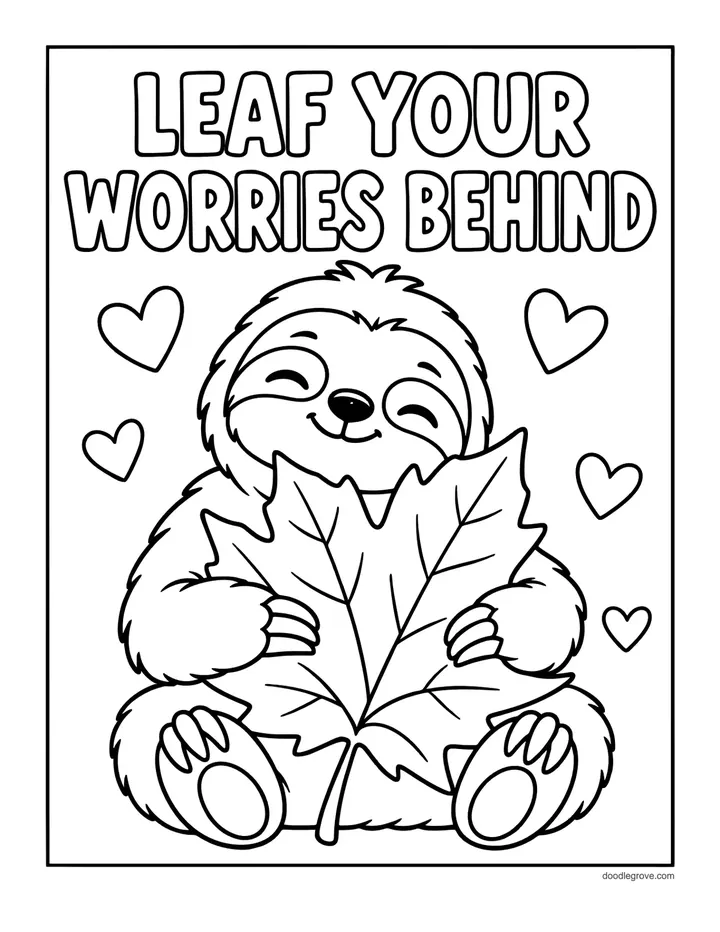
Start with the pale yellow base over the entire leaf. Add golden yellow in the outer third, then orange where the yellow meets it. Drop scarlet along the pointed tips and deep maroon into the notches between them, because that is where a real leaf holds its darkest color. Leave a thin pale line running along each vein, then burnish the whole leaf with pale yellow to pull it together. Step back, and the leaf should move from gold at the center to fire at the edges.
Match the color to the tree
Part of making a leaf look real is choosing the color a real tree would wear. You do not have to copy nature exactly, but a few rules of thumb help a scene hang together.
- Maples turn the brightest, often scarlet, orange and gold all on one leaf.
- Oaks lean russet, bronze and brown, with far less yellow.
- Birches and aspens go a clean, bright yellow.
- Sweetgums and some maples reach wine red and purple at the edges.
Why the same tree wears different colors from one year to the next is a story of pigments and sunlight, and we tell it in why do leaves change color. For coloring, the short version is simple: start warm, and let a little yellow show through everywhere.
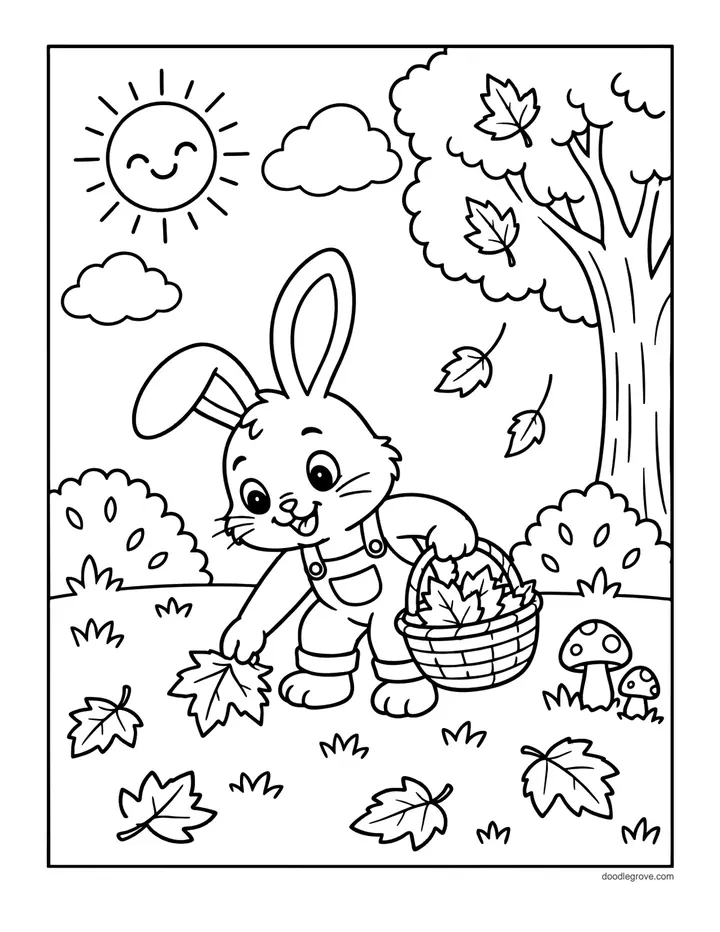
Shade for light so a flat leaf looks rounded
One habit separates a flat page from one that looks real: deciding where the light comes from before you shade. Pick a direction, say the top left, and keep it the same across the whole page.
- Keep the edge nearest the light pale, with the thinnest layers.
- Deepen the far edge and the dip beside each vein, where shadow gathers.
- Leave a hair-thin band of untouched paper along the main veins; that tiny highlight reads as a glossy ridge.
The same thinking turns a round pumpkin or an acorn from a flat blob into something you could pick up, and it is what makes a whole page feel lit by one afternoon sun rather than a flat ceiling light.
Take the palette further: a scarecrow and an owl
The eight pencils you just mixed color far more than leaves. Any detailed fall page is fair game once you can layer.
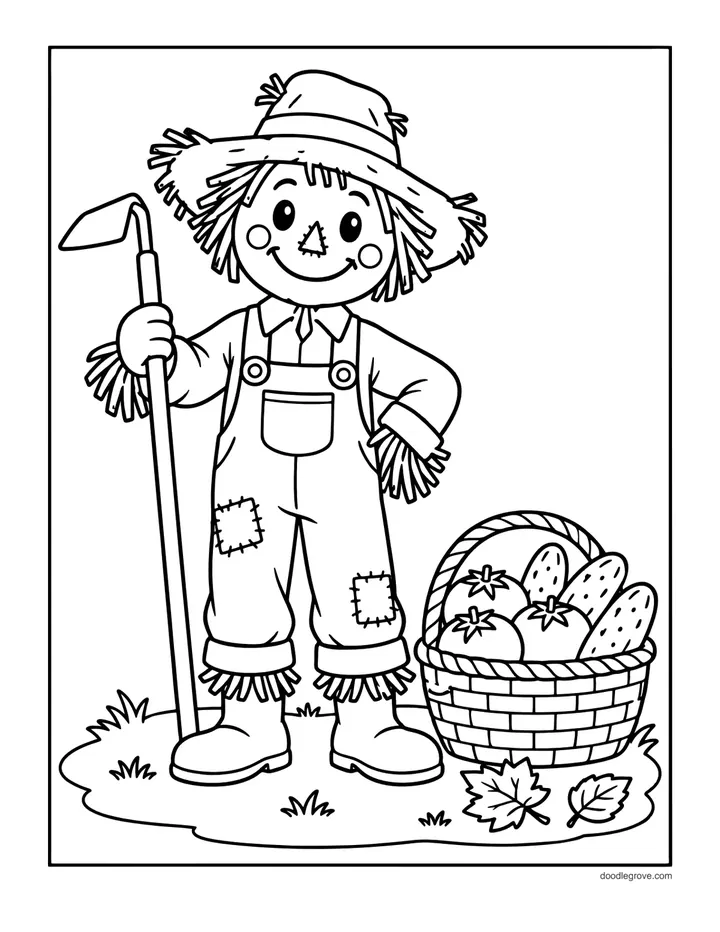
On the Garden Harvest Scarecrow, the straw is your golden and pale yellows, the patched clothes are rust and brown, and the basket of produce lets every orange and red in the palette have a turn. Keep the three layers going and the straw will look soft rather than painted on.
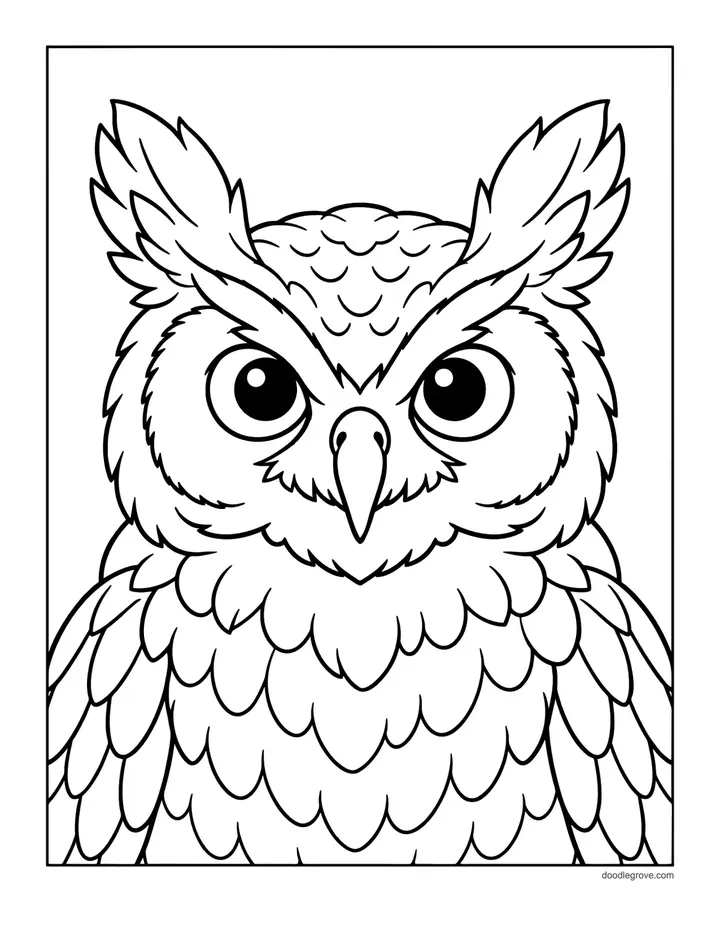
Feathers layer just like a leaf. On the Great Horned Owl, lay a warm brown base, build darker brown and maroon toward the edge of each feather, and leave a pale line at every soft tip. The ear tufts and the ring around each eye are good places to practice the light and shadow habit on a tighter shape.
FAQ
How many colored pencils do I really need for fall leaves?
Eight is plenty, and five will do. The palette above mixes almost every autumn leaf. A big tin is nice, but layering a few colors well beats owning dozens you never touch.
How do I blend colored pencils without a blending pencil or solvent?
Go back over your colors with the palest pencil in the palette, pressing a little harder. The soft wax fills the grain of the paper and melds the layers. A clean cotton bud or a rolled-paper stump does the same job.
What paper works best for layering colored pencils?
Smooth, heavier paper, roughly 90 to 160 gsm, holds several layers without denting or tearing when you burnish. Thin copy paper can work for a single pass, but it gives up quickly once you press.
Can a beginner get good results with this layering method?
Yes. The method is forgiving because you build slowly and the pale base hides small mistakes. Start on one large leaf, keep your pressure light until the final burnish, and you will see the difference on your first page.
Can I get this look with markers or gel pens instead of pencils?
You can, though the blending works differently. With markers, lay the lightest shade first and work quickly while it is still wet so the colors merge. Gel pens suit small accents and highlights rather than large, even fills.
More fall coloring pages
- Fall Leaves: maple, oak, birch and labeled leaf charts, plus cozy animal scenes (30 pages).
- Scarecrow: friendly farm scarecrows among pumpkins, wheat and sunflowers (34 pages).
- Owl: cartoon and realistic owls, from barn owls to the great horned owl (30 pages).

Hung designs T-shirt artwork for a living and prints coloring pages for his own kids at home. Every page on DoodleGrove is prepared for print the same way he prepares work for his clients.